Featured Tutorial
Watch the Complete Guide
Learn from the experts at Cars.com with this comprehensive step-by-step video tutorial
4:32
Complete guide with 11+ expert video tutorials for sedans, SUVs, and trucks
Learning how to change a tire is an essential skill for every driver. Whether you're driving a sedan, SUV, or truck, knowing how to change a flat tire quickly and safely can save you time, money, and stress in an emergency situation. This comprehensive guide teaches you how to change a tire step-by-step, with expert video tutorials tailored to your specific vehicle type. From finding a safe location to properly tightening lug nuts, you'll master every aspect of tire changing in just 10-15 minutes.
Learn from the experts at Cars.com with this comprehensive step-by-step video tutorial
Make sure you have these essential tools before starting
Hydraulic or scissor jack to lift your vehicle safely
Also called tire iron, for removing lug nuts
Full-size or temporary spare in good condition
To prevent the vehicle from rolling
Essential for nighttime tire changes
Reflective vest for visibility
Follow these 10 detailed steps to change your tire safely and efficiently
Pull over to a safe, flat location away from traffic. Turn on your hazard lights immediately. If you're on a highway, try to reach a rest area or exit. Park on a flat, stable surface - never attempt to change a tire on a slope or soft ground.
Engage the parking brake firmly. Place wheel wedges (or heavy rocks/bricks) in front of or behind the tires opposite to the flat tire. For example, if the front left tire is flat, place wedges behind the rear tires. This prevents the vehicle from rolling.
If your vehicle has a hubcap covering the lug nuts, remove it with the flat end of your lug wrench. Using the lug wrench, turn each lug nut counterclockwise about a half turn. Don't remove them completely yet - just break their resistance while the tire is still on the ground.
Locate the designated jack point on your vehicle's frame near the flat tire. Consult your owner's manual if unsure - it's usually a reinforced notch or designated area. Place the jack underneath this point and ensure it's perpendicular to the ground and centered on the jack point.
Carefully raise the vehicle by turning the jack handle clockwise or pumping the jack lever. Lift until the flat tire is approximately 6 inches (15cm) off the ground. This provides enough clearance to remove the flat tire and install the inflated spare.
Now that the tire is off the ground, unscrew the lug nuts completely by turning counterclockwise. Keep them in a safe place like your pocket or a small container - they're small and easy to lose. Pull the tire straight toward you to remove it from the wheel hub.
Lift the spare tire and align the rim with the wheel bolts. Push the spare onto the wheel hub until the wheel bolts show through the rim. The spare tire may be heavier than expected - lift with your legs, not your back.
Put the lug nuts back on the wheel bolts and tighten them by hand as much as possible. Start with one lug nut, then tighten the one opposite it (not next to it). Continue in a star or crisscross pattern to ensure the wheel is evenly secured.
Using the jack, carefully lower the vehicle until the spare tire touches the ground but doesn't bear the full weight yet. Remove the jack handle or release the jack slowly. Ensure the tire is properly seated on the ground.
With the vehicle fully lowered and all weight on the tire, use the lug wrench to fully tighten the lug nuts. Use your full body weight and tighten in the same star pattern. Give each nut a final firm turn to ensure they're completely secure. Replace the hubcap if applicable.
Choose from 19+ video tutorials tailored to your vehicle type
Critical safety guidelines you must follow
Never place any part of your body under a vehicle supported only by a jack. Jacks can fail. Use jack stands if you must work underneath.
Always change tires on flat, stable ground. Never attempt on slopes, soft earth, or uneven surfaces. The vehicle could slip off the jack.
Use hazard lights and place warning triangles or flares 100-300 feet behind your vehicle. Wear a reflective safety vest if available.
If you're on a busy highway, near a curve, or feel unsafe, call roadside assistance. Your safety is worth more than the service fee.
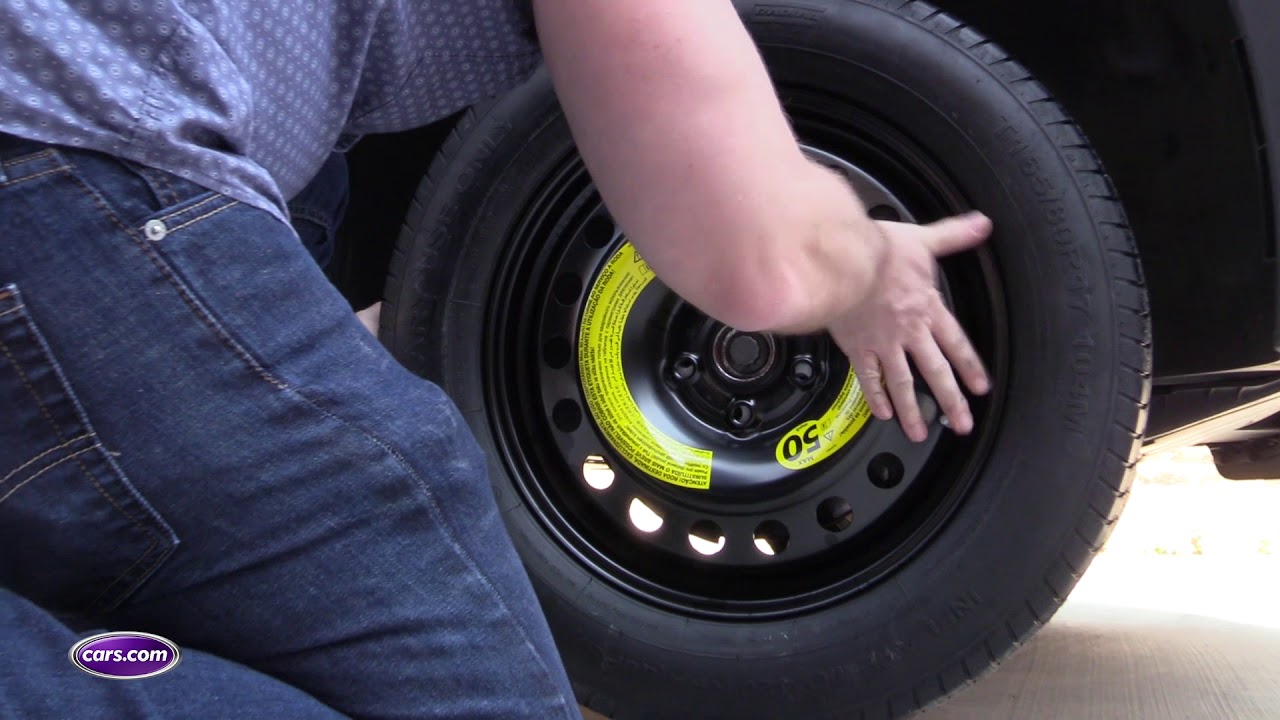
Temporary spares ("donuts") are rated for 50 miles maximum at 50 MPH. Drive directly to a tire shop for a permanent replacement.
After installing the spare, check tire pressure immediately. Spares often require 60 PSI. Check your owner's manual for specifications.
Common questions about changing tires
For an experienced person, changing a tire typically takes 10-15 minutes. If it's your first time, allow 20-30 minutes. Don't rush - it's more important to do it safely and correctly than quickly.
Yes, but with limitations. Full-size spares can be driven like regular tires. Temporary spares (often called "donuts") are rated for 50 miles maximum at speeds no higher than 50 MPH. They're meant only to get you to a tire shop.
Without a jack, you cannot safely change a tire yourself. Your options are: 1) Call roadside assistance, 2) Use a tire repair kit if the puncture is small, 3) Call a friend or family member who has a jack, or 4) Flag down help if in a safe area.
Absolutely! Watching a video tutorial beforehand helps you understand the process and identify your vehicle's specific jack points and lug nut pattern. The videos on this page are tailored to different vehicle types.
Remember: "Lefty loosey, righty tighty." Turn counterclockwise (left) to loosen lug nuts, and clockwise (right) to tighten them. You may need to use significant force to break them loose initially.
Call for help if: 1) You're on a busy highway or unsafe location, 2) The lug nuts are seized and won't budge, 3) You can't locate the jack points, 4) The ground is too soft or sloped, 5) Weather conditions are dangerous, or 6) You simply don't feel confident doing it yourself.
Changing a tire without a jack is extremely difficult and not recommended for safety reasons. If you don't have a jack, your best options are: 1) Call roadside assistance (AAA, your insurance provider, or a towing service), 2) Use a tire repair kit or sealant if the puncture is small, 3) Call a friend or family member who has a jack, or 4) Visit a nearby auto shop or gas station. Never attempt to change a tire without proper equipment as it can be dangerous.
For beginners learning how to change a tire for the first time, expect the process to take 25-40 minutes. This includes time to read your owner's manual, locate tools, and carefully follow each step. With practice, most people can change a tire in 15-20 minutes. Remember, it's better to work carefully and safely than to rush. Watch our video tutorials beforehand to familiarize yourself with the process and reduce the time needed.
To change a car tire, you need these essential tools: 1) Car jack (hydraulic or scissor jack), 2) Lug wrench (also called tire iron), 3) Spare tire (full-size or temporary), 4) Wheel wedges (or bricks/rocks), 5) Flashlight (for nighttime), and 6) Reflective safety vest (recommended). Most vehicles come with a basic jack and lug wrench in the trunk. Optional but helpful tools include: gloves, tire pressure gauge, portable air compressor, and WD-40 for stuck lug nuts.
Yes, changing a tire by yourself is relatively easy once you know the proper steps. Most people can learn how to change a tire in one practice session. The key is following the correct sequence: find a safe location, secure the vehicle, loosen lug nuts before lifting, raise the car with a jack, remove the flat tire, mount the spare, and tighten lug nuts in a star pattern. While physically manageable for most adults, it does require some strength to loosen lug nuts and lift the spare tire (which can weigh 20-50 pounds). If you feel uncertain, our step-by-step video tutorials can guide you through the entire process.
Essential items to keep in your vehicle
More stable than scissor jacks and easier to use. Look for 2-3 ton capacity for most vehicles.
View OptionsAll-in-one kit including jumper cables, flashlight, first aid, and basic tools.
View OptionsEssential for checking and adjusting spare tire pressure on the go.
View OptionsSafer than traditional flares and reusable. Increases visibility to other drivers.
View Options